This guide was written for use with HueForge V0.7.1 and up.
Adding Filaments
Launch HueForge V0.7.1 or higher and connect TD-1, in any order.
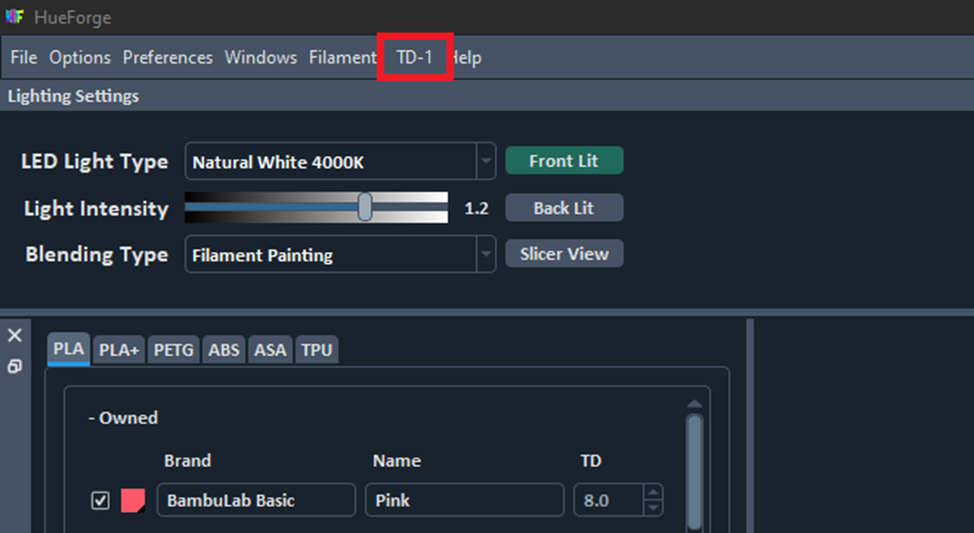
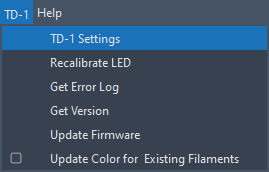
A TD-1 menu will be displayed when TD-1 is connected.
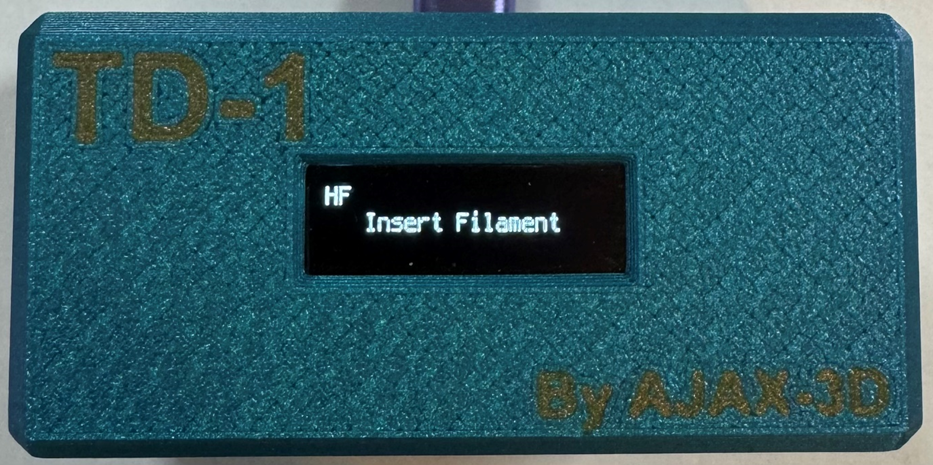
Additionally, an “HF” icon will be displayed in the top left corner of the TD-1 screen.
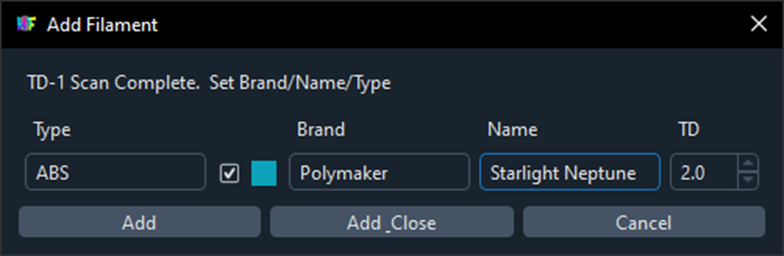
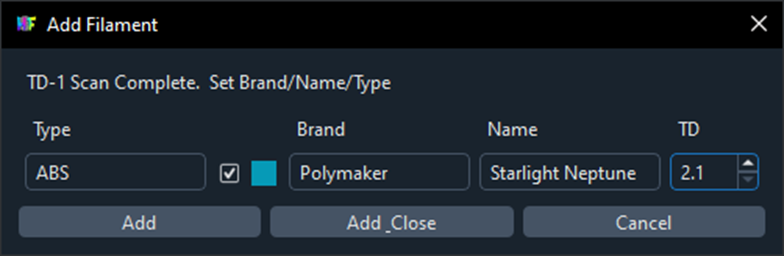
Inserting filament will now pop up an “Add Filament” dialog box.
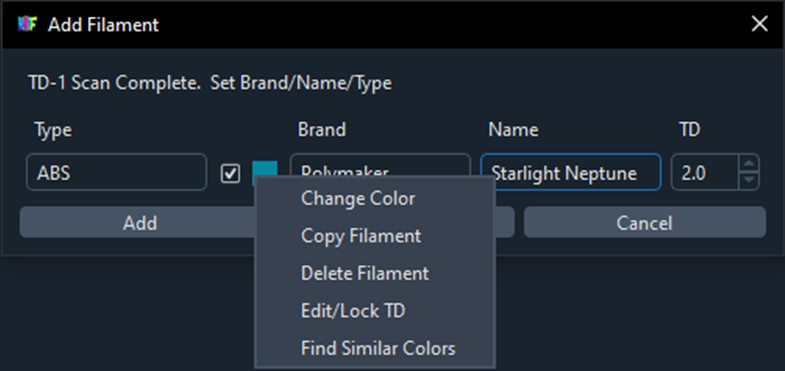
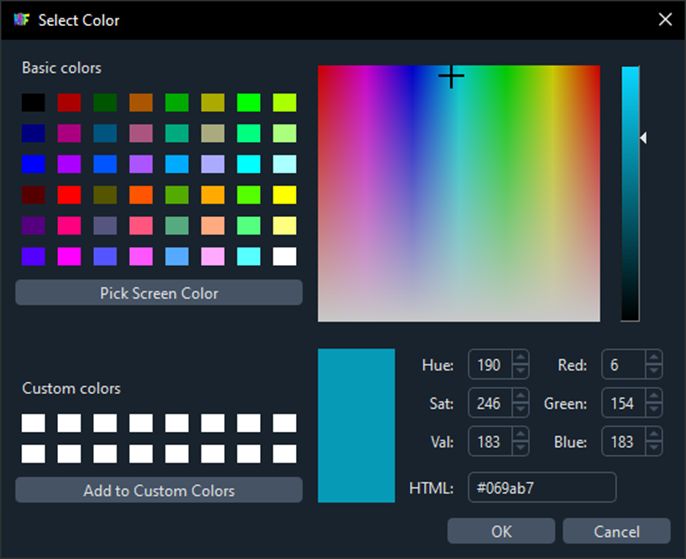
If the color is off and you would like to adjust it, you can right click on the color box and select “Change Color” and adjust the color as desired.
You can also use the up and down arrows next to the TD box if you wish to adjust the TD value.
Clicking “Add” will add the filament to your library and keep this dialog box open for adding more filaments.
“Add Close” will add the filament to your library and close the dialog box.
Getting TD-1 Device information
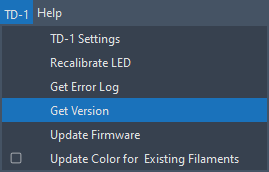
Select the TD-1 menu tab and select “Get Version”
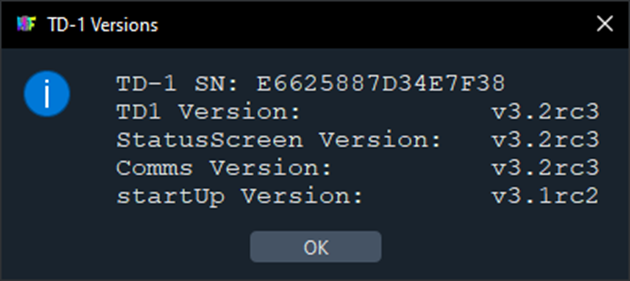
This will display the SN and current version of important files on TD-1.
TD-1 Settings
Select the TD-1 menu tab and select “Settings”
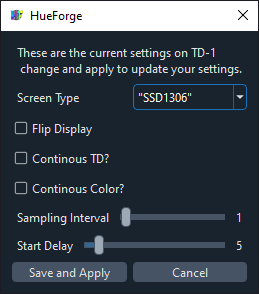
This will open the Settings dialog box.
Here you can select your screen type, change which side of the display is up, enable Continuous TD, Continuous Color (requires continuous TD to be enabled), set the rate at which scans happen in Continuous mode, and how long you want to delay the starting of continuous after an initial scan.
Saving will update the TD-1 settings and require you to disconnect and reconnect it. The TD-1 screen will display “Update complete Reboot TD-1” when the settings have been saved.
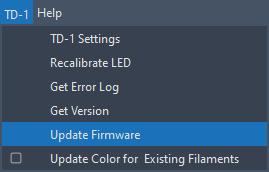
Updating TD-1 Firmware
When a new TD-1 firmware is released, it will be provided in a .zip file.
Extract the contents of this file to the "TD-1/update" folder inside your HueForge directory.
Select the TD-1 menu tab and select “Update Firmware”
Navigate to where you extracted the update files and click “Select Folder”. Be sure not to select the “lib” folder.
The TD-1 will start receiving the files and “Update In Progress” will be displayed.
Once the update is complete “Update Complete Reboot TD-1” will be displayed.
Recalibrate LED
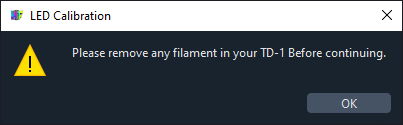
If ever you get an error that that the filament path is blocked when there is no filament in the path, you may need to calibrate the LED.
Make sure you do not have filament in the path as indicated by the pop up message.
You will then get a "Calibration Complete" message box.
Get Errors
If your TD-1 is experiencing any errors, they will be captured in the error log.
When you first launch HueForge or connect TD-1 while it is open, if there are any errors in the log, HF will automatically warn you of them like in the image below.
Checking the box before the error will tell HueForge to not warn you of that exact message in the future.
This is mainly for those who build their own units and do not want to use a screen as that error will be present every time they connect to HueForge.
If you are looking for help, use the copy to clipboard option to quickly share the information.
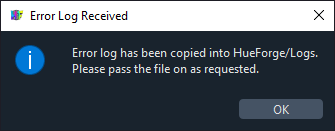
Once you exit the error log window, you will have another window informing you that the log was retrieved and can also be found in the HueForge Logs subfolder.
Update Colors
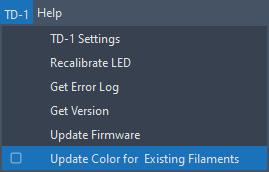
When you get a new roll of a filament you already have in your HueForge library, you may want to also update the data TD and not color data in the library. To tell HueForge to ignore the color data and only update the TD data, make sure the "Update Color for Existing Filaments" option is unchecked.
If you do want to also update the color data, make sure this box is checked.
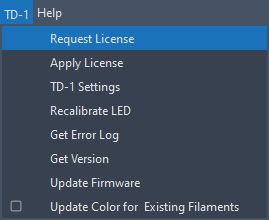
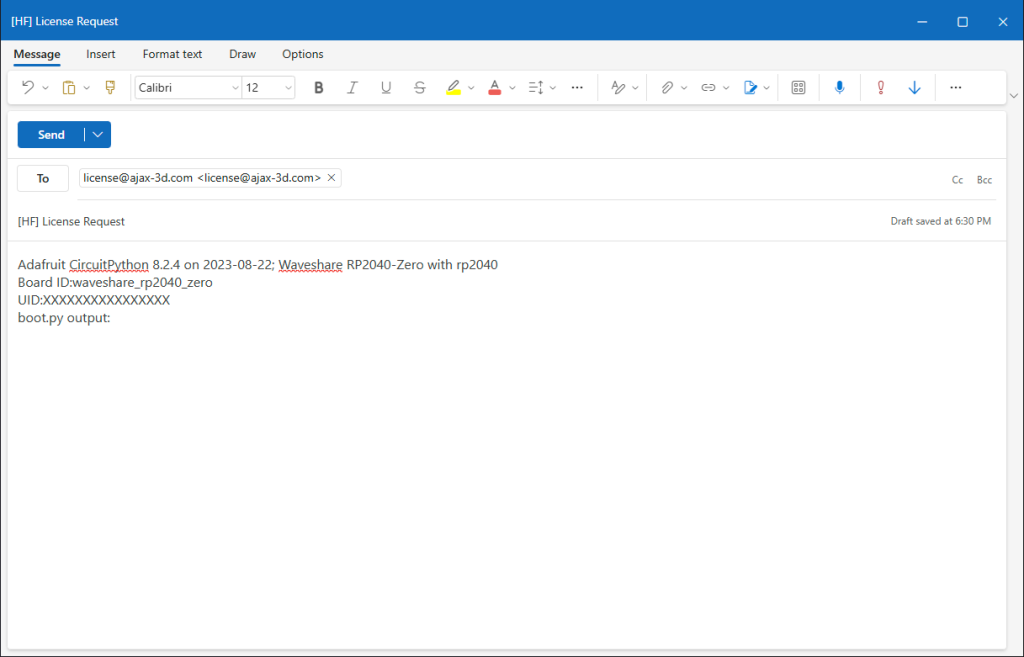
Request License
If you are building a Self-Sourced TD-1, once you have completed the build guide, you can connect it to HueForge and select this option to streamline the request process.
This will open a MailTo request if you do not have a default MailTo setup on the device, it will retrieve the boot_out.txt file that is needed.
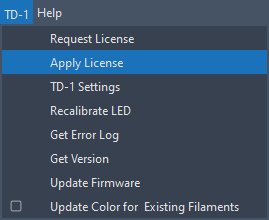
Apply License
If you need to apply your license to your unit you can select this option.
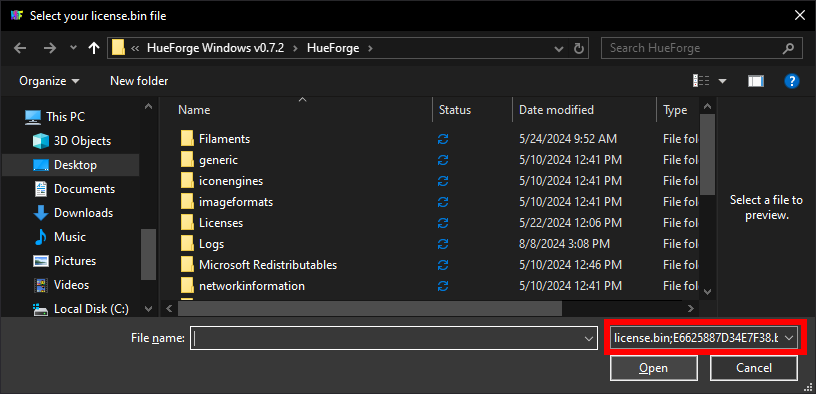
It will open a File Explorer (PC) or Finder (Mac) where you can navigate to where you downloaded your license file. It can be named either "license.bin" or the serial number of the pi with the extension .bin.
If the license file is named the SN of the Pi, HF will automatically filter to the SN of the connected TD-1.
Once the license is applied the device will need to be restarted by disconnecting and reconnecting the USB cable. (This is not requited in firmware version 1.0.3 and later)